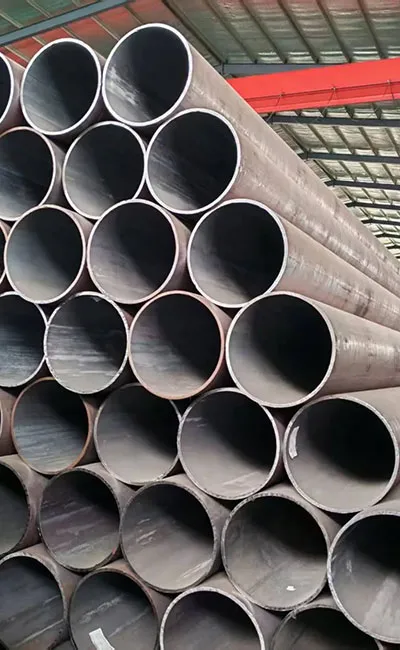
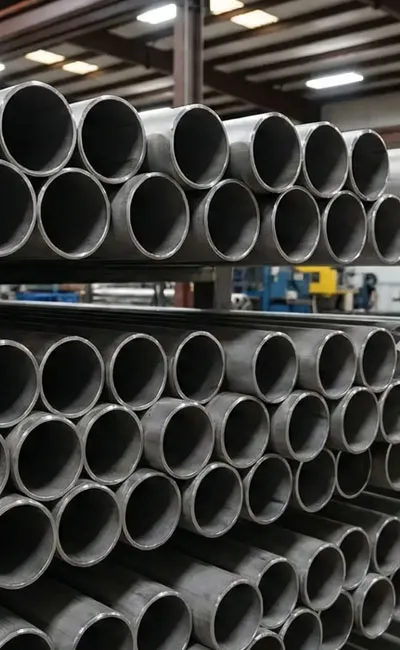
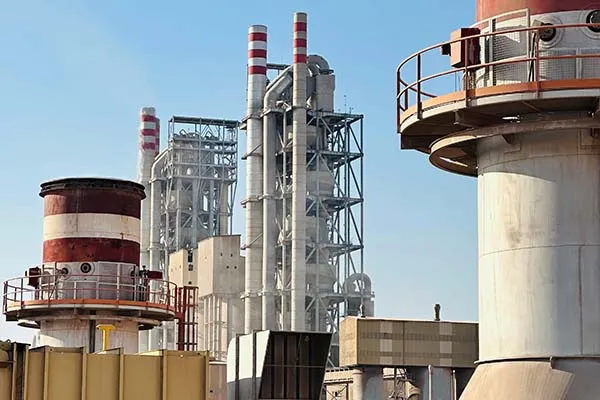
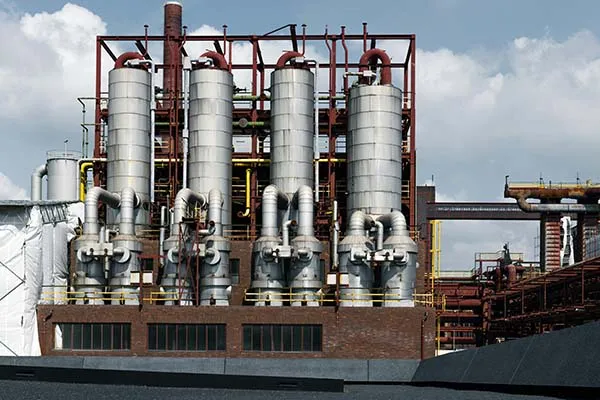
Pipe spools reduce field welds by 60-80% and compress installation schedules by 30-40%. By moving fabrication from site to shop, project teams gain consistent weld quality and fewer weather delays. But a well-fabricated spool still needs proper installation — receiving checks, lifting, alignment, field welding, testing, and commissioning all affect final system performance. This guide covers the complete installation process for oil and gas, petrochemical, power generation, and industrial construction projects.
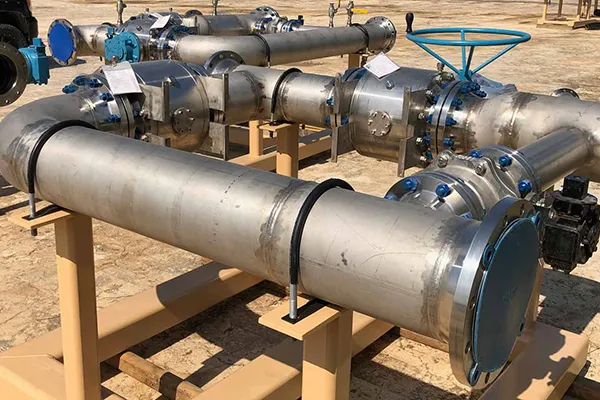
Pipe spool installation is the process of positioning and connecting
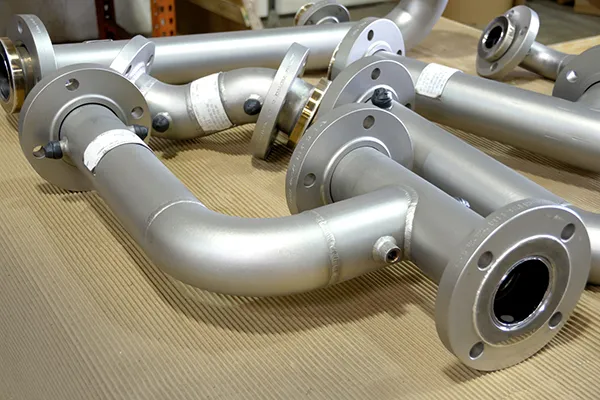
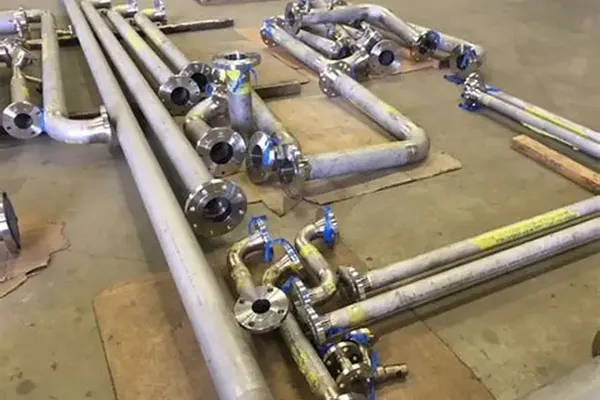
prefabricated piping assemblies — pipe sections, flanges, fittings, and welded joints — into a completed piping system. Compared with stick-built construction on-site, spool installation offers:
-
Fewer field welds (60-80% reduction)
-
Faster erection (30-40% schedule compression)
-
Better weld quality (shop first-pass acceptance 95-98%)
-
Reduced site congestion and hot-work permits
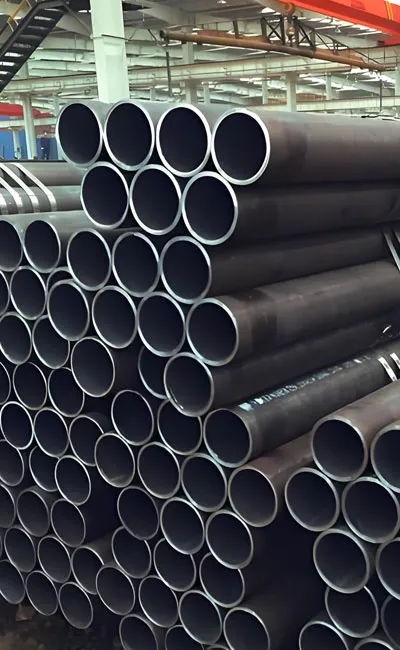
Step 1: Receiving and Verification
Installation starts at the laydown yard — before any spool gets lifted. Receiving team checks:
-
Spool ID against the isometric drawing
-
Material certificates and heat numbers
-
Overall dimensions — flange face-to-face, bolt-hole orientation, branch locations
-
Coating condition — transport damage gets repaired before installation
-
Flange face protectors — intact and undamaged
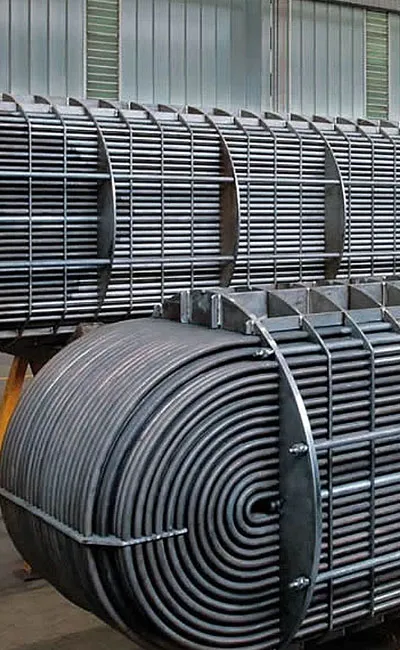
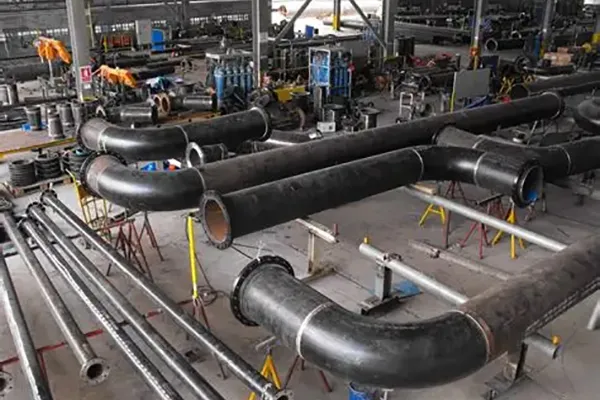
Storage: Spools sit on supports above ground level — not directly on the ground. Uneven support distorts flanges, especially on large-diameter thin-wall spools. Any discrepancy found here is cheaper to fix now than after lifting into position.
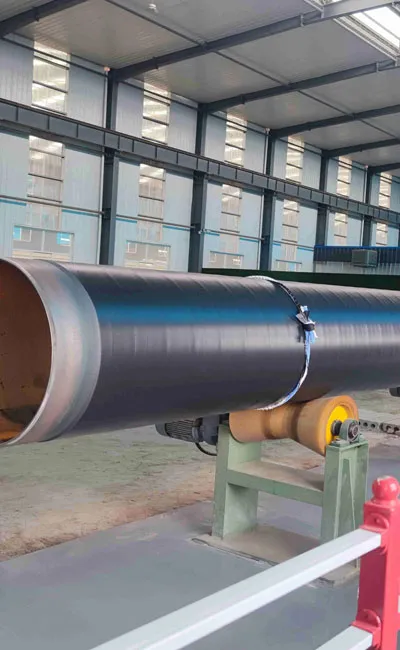
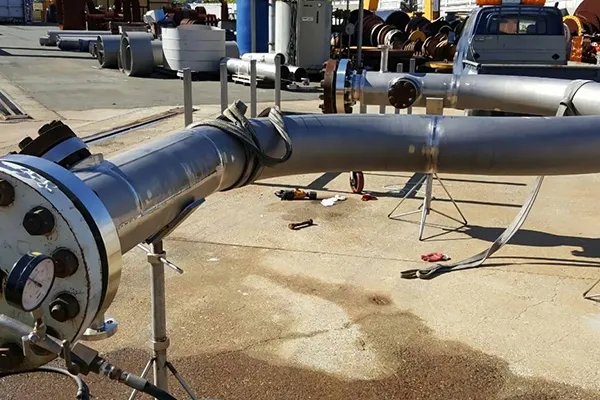
Step 2: Lifting and Positioning
Spools range from small assemblies (50 kg) to heavy sections (over 10 tonnes). Lifting requires a plan. Key lifting requirements:
-
Approved lifting points from the spool drawing
-
Slings and shackles rated for spool weight plus 25% safety margin
-
Soft slings or padded hooks to protect FBE/3PE coatings
-
Load stability — two-point lifting for long spools; three-point for complex assemblies
For spools over 5 tonnes or 12 meters, formal lift plans are required — documented and signed off before the crane moves.
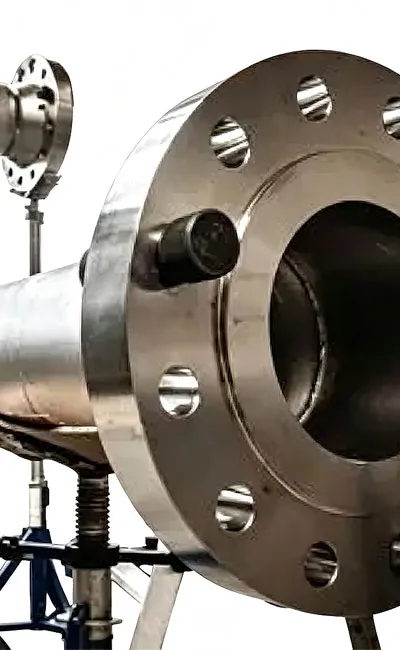
Step 3: Alignment and Fit-Up
Alignment is the biggest installation risk. Misalignment doesn't just make bolting difficult — it creates stress that transfers to pumps, compressors, and rotating equipment. What gets verified before any connection:
-
Centerline alignment with the adjacent pipe or equipment nozzle
-
Elevation and slope (gravity-flow lines require minimum 1:100 fall)
-
Flange face parallelism — within 0.5 mm across the face per ASME B31.3
-
Flange bolt-hole rotation — within ±1.5 mm
Never force misaligned flanges with bolts. If flanges don't align freely, re-position the spool or adjust supports. Forcing alignment creates stress that shows up as equipment vibration or flange leaks months later.
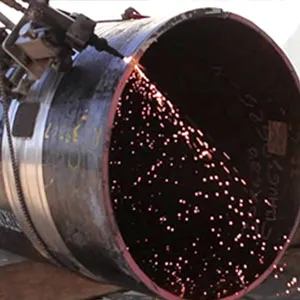
Step 4: Field Welding and Mechanical Connections
Shop fabrication handles most welds, but field tie-ins are inevitable — spool-to-spool,
spool-to-equipment, or site modifications. Field welding requirements:
-
WPS qualified for material, wall thickness, and welding position
-
Welders certified for the specific WPS and position
-
Preheat applied per WPS — especially critical for carbon steel over 25 mm wall and all alloy steels
-
Interpass temperature monitored and logged
For alloy steels (P11, P22, P91), PWHT (post-weld heat treatment) is often required after field welding. Portable PWHT equipment and qualified operators must be available on-site.
Flanged connections require equal care:
-
Correct gasket type for the service (spiral-wound for high-temp, PTFE for chemical)
-
Bolts lubricated per specification
-
Torque applied in criss-cross sequence: 30% → 60% → 100% of target
-
Final torque verified with calibrated torque wrench — no "feel" tightening
After all connections are made, the system gets tested before commissioning. NDE applied to field welds — often at a higher percentage than shop welds:
-
RT (radiography) or UT (ultrasonic) for pressure welds
-
MT (magnetic particle) or PT (dye penetrant) for surface defects
-
Hardness testing on welds that received PWHT (≤22 HRC per NACE MR0175 for sour service)
Hydrostatic testing follows NDE:
-
Fill with clean water (or specified test fluid)
-
Pressurize to 1.5× design pressure
-
Hold for 10 minutes minimum
-
Inspect all connections, welds, flanges — zero leakage
Step 6: Commissioning and Handover
Commissioning confirms the system operates as designed. Commissioning tasks:
-
System flushing to remove debris (critical for rotating equipment)
-
Pressure stabilization
-
Functional testing of connected equipment
-
Punch-list close-out
Documentation delivered at handover:
-
As-built isometrics with field weld locations marked
-
NDE reports for all field welds
-
Hydrotest certificates
-
PWHT records (if applicable)
-
Flange torque logs
Common Installation Challenges and Prevention
|
Challenge
|
Root Cause
|
Prevention
|
|
Flange bolt-hole misalignment
|
Drawing error or welding shrinkage
|
Full-dimensional check before installation
|
|
Coating damage during lift
|
Rigging contact without padding
|
Soft slings and designated lift points
|
|
PWHT failure on field weld
|
Crew lacks portable PWHT capability
|
Verify supplier field support before project start
|
|
Gasket leak post-startup
|
Uneven torque or wrong gasket type
|
Torque log + gasket verification
|
-
Oil and gas production facilities
-
Refineries and petrochemical plants
-
Power generation stations
-
Water treatment facilities
-
Offshore platforms
-
Mining and industrial processing plants
Frequently Asked Questions
Q1: How much time do pipe spools save during installation?
A1: Projects typically report 30-40% reduction in overall installation schedules.
Q2: Why is flange alignment important?
A2: Proper alignment prevents excessive stress on equipment, reduces leakage risks, and improves long-term reliability.
Q3: Is hydrostatic testing required after installation?
A3: Most industrial piping systems require hydrostatic testing (1.5× design pressure) or equivalent pressure testing before commissioning.
Q4: Can pipe spools be installed offshore?
A4: Yes, with specialized coatings, corrosion-resistant materials, and additional inspection requirements.
Summary
Pipe spool installation follows a six-step sequence: receiving, lifting, alignment, welding/connection, testing, and commissioning. The biggest installation risk is alignment — forcing misaligned spools into position creates stress that shows up as equipment vibration or flange leaks months later. Field welding requires the same discipline as shop work: WPS compliance, preheat control, and proper NDE. Hydrotesting confirms integrity before startup. Projects that treat installation as a technical process — with checklists, torque logs, and hold points — consistently finish faster and start up without leaks.


 English
 Español
 русский язык
 Português